AD Environmental Atlas
This environmental atlas project in fact shows not just my graphic and photo manipulation skills, but an excellent example of teamwork, 3D modeling, localisation, and production skills as well.
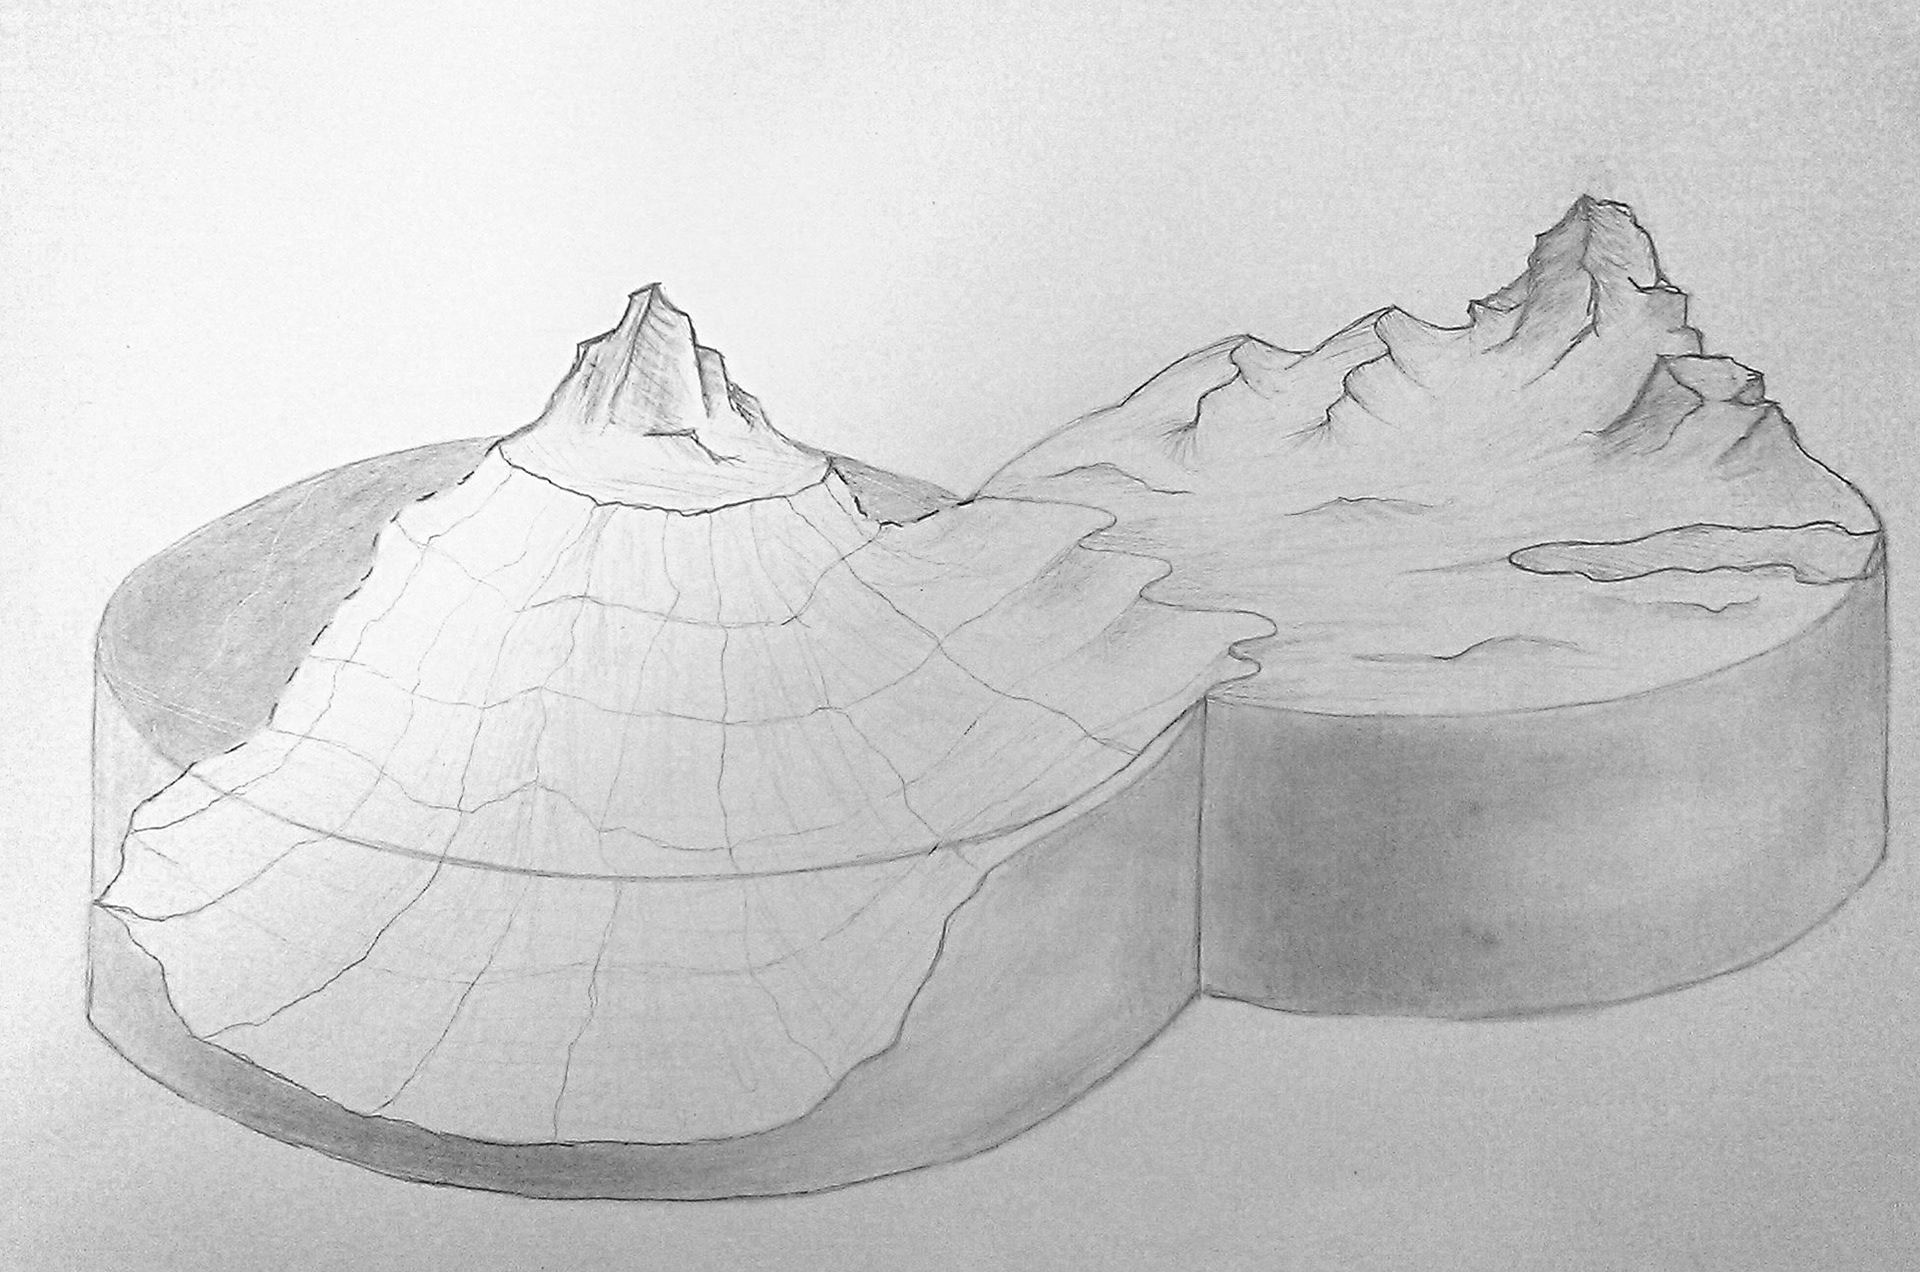


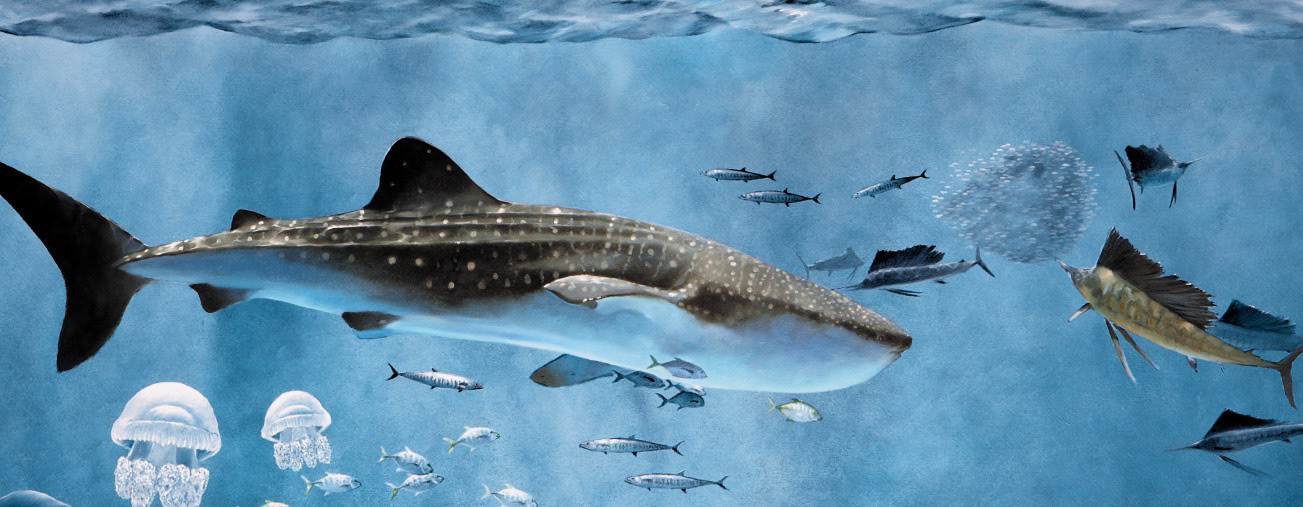
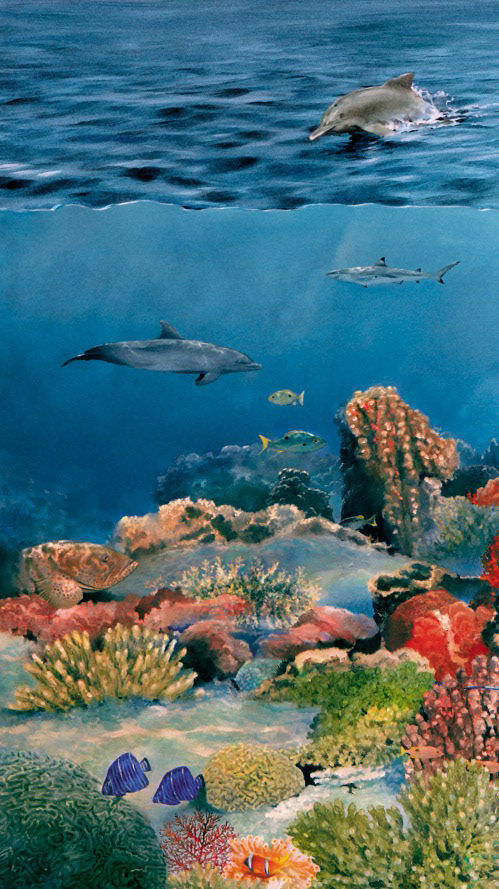
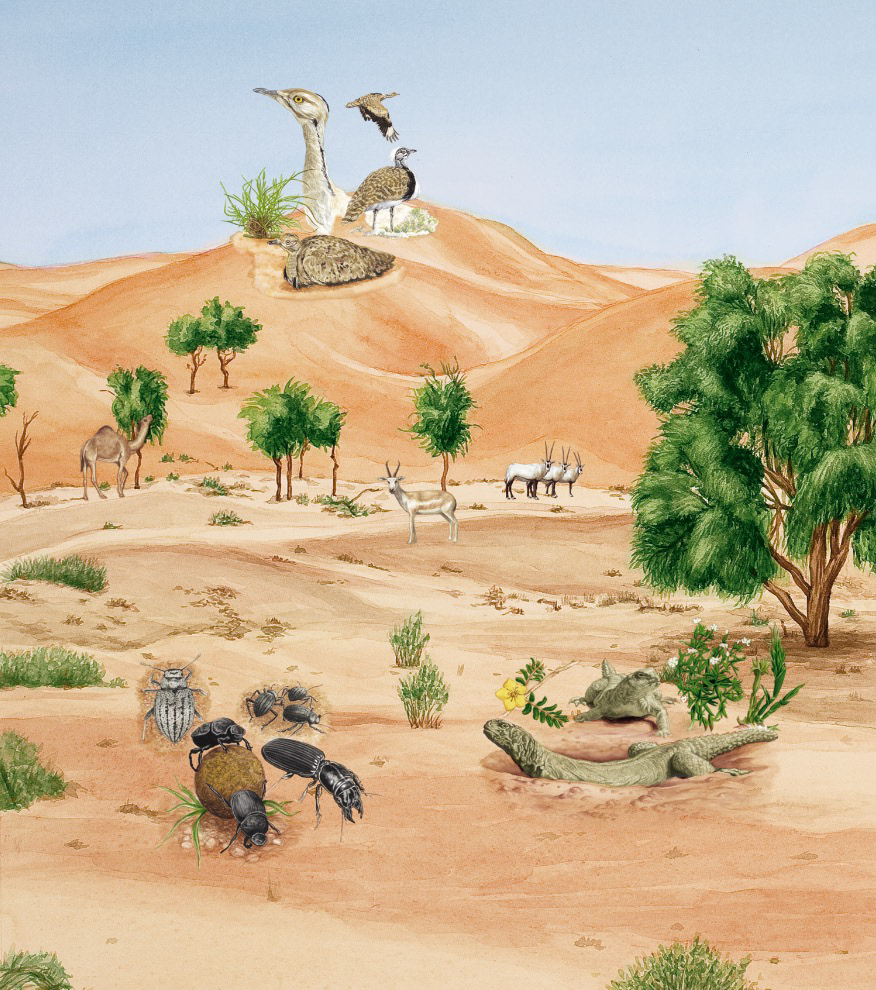
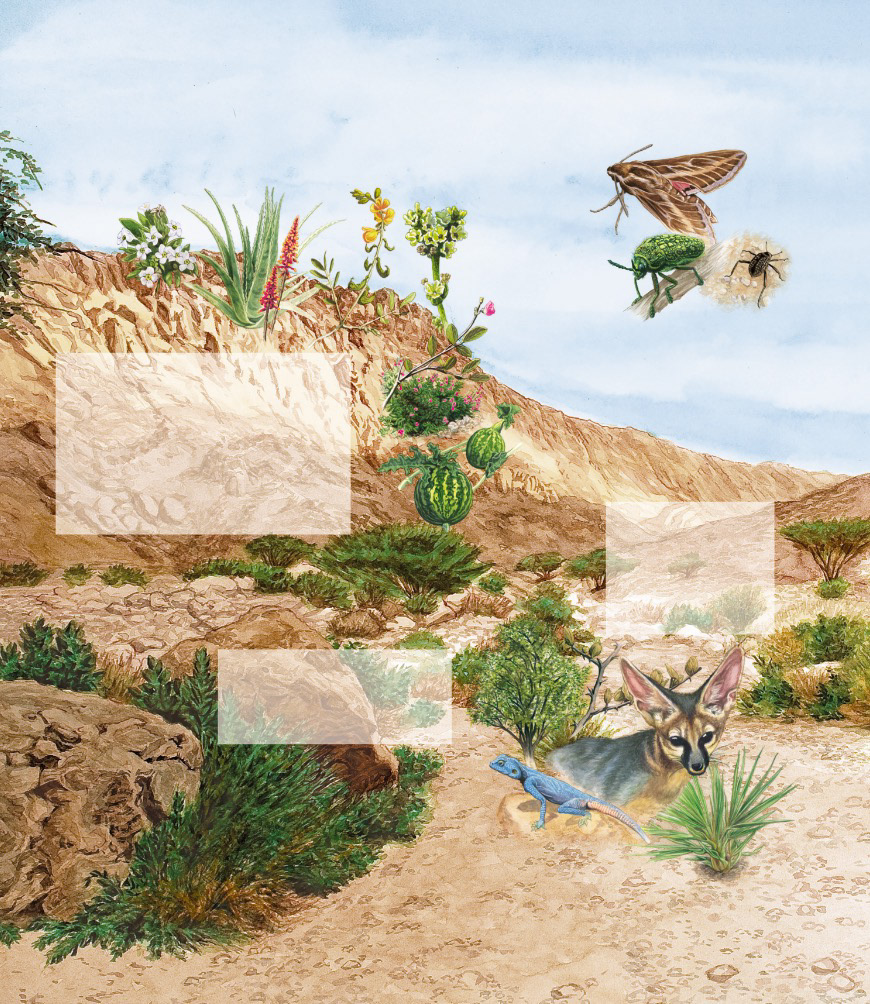
Cross-section block designs needed to go through a set of stages to make sure it comes out scientifically accurate. Therefore, once we meet with the experts in Abu Dhabi Environment Agency and understand what is the message or story we need to tell, I start with sketching the background with all needed terrains (1), then I add the subjects we are talking about (2), followed by a more detailed colour digital mock-up (3).
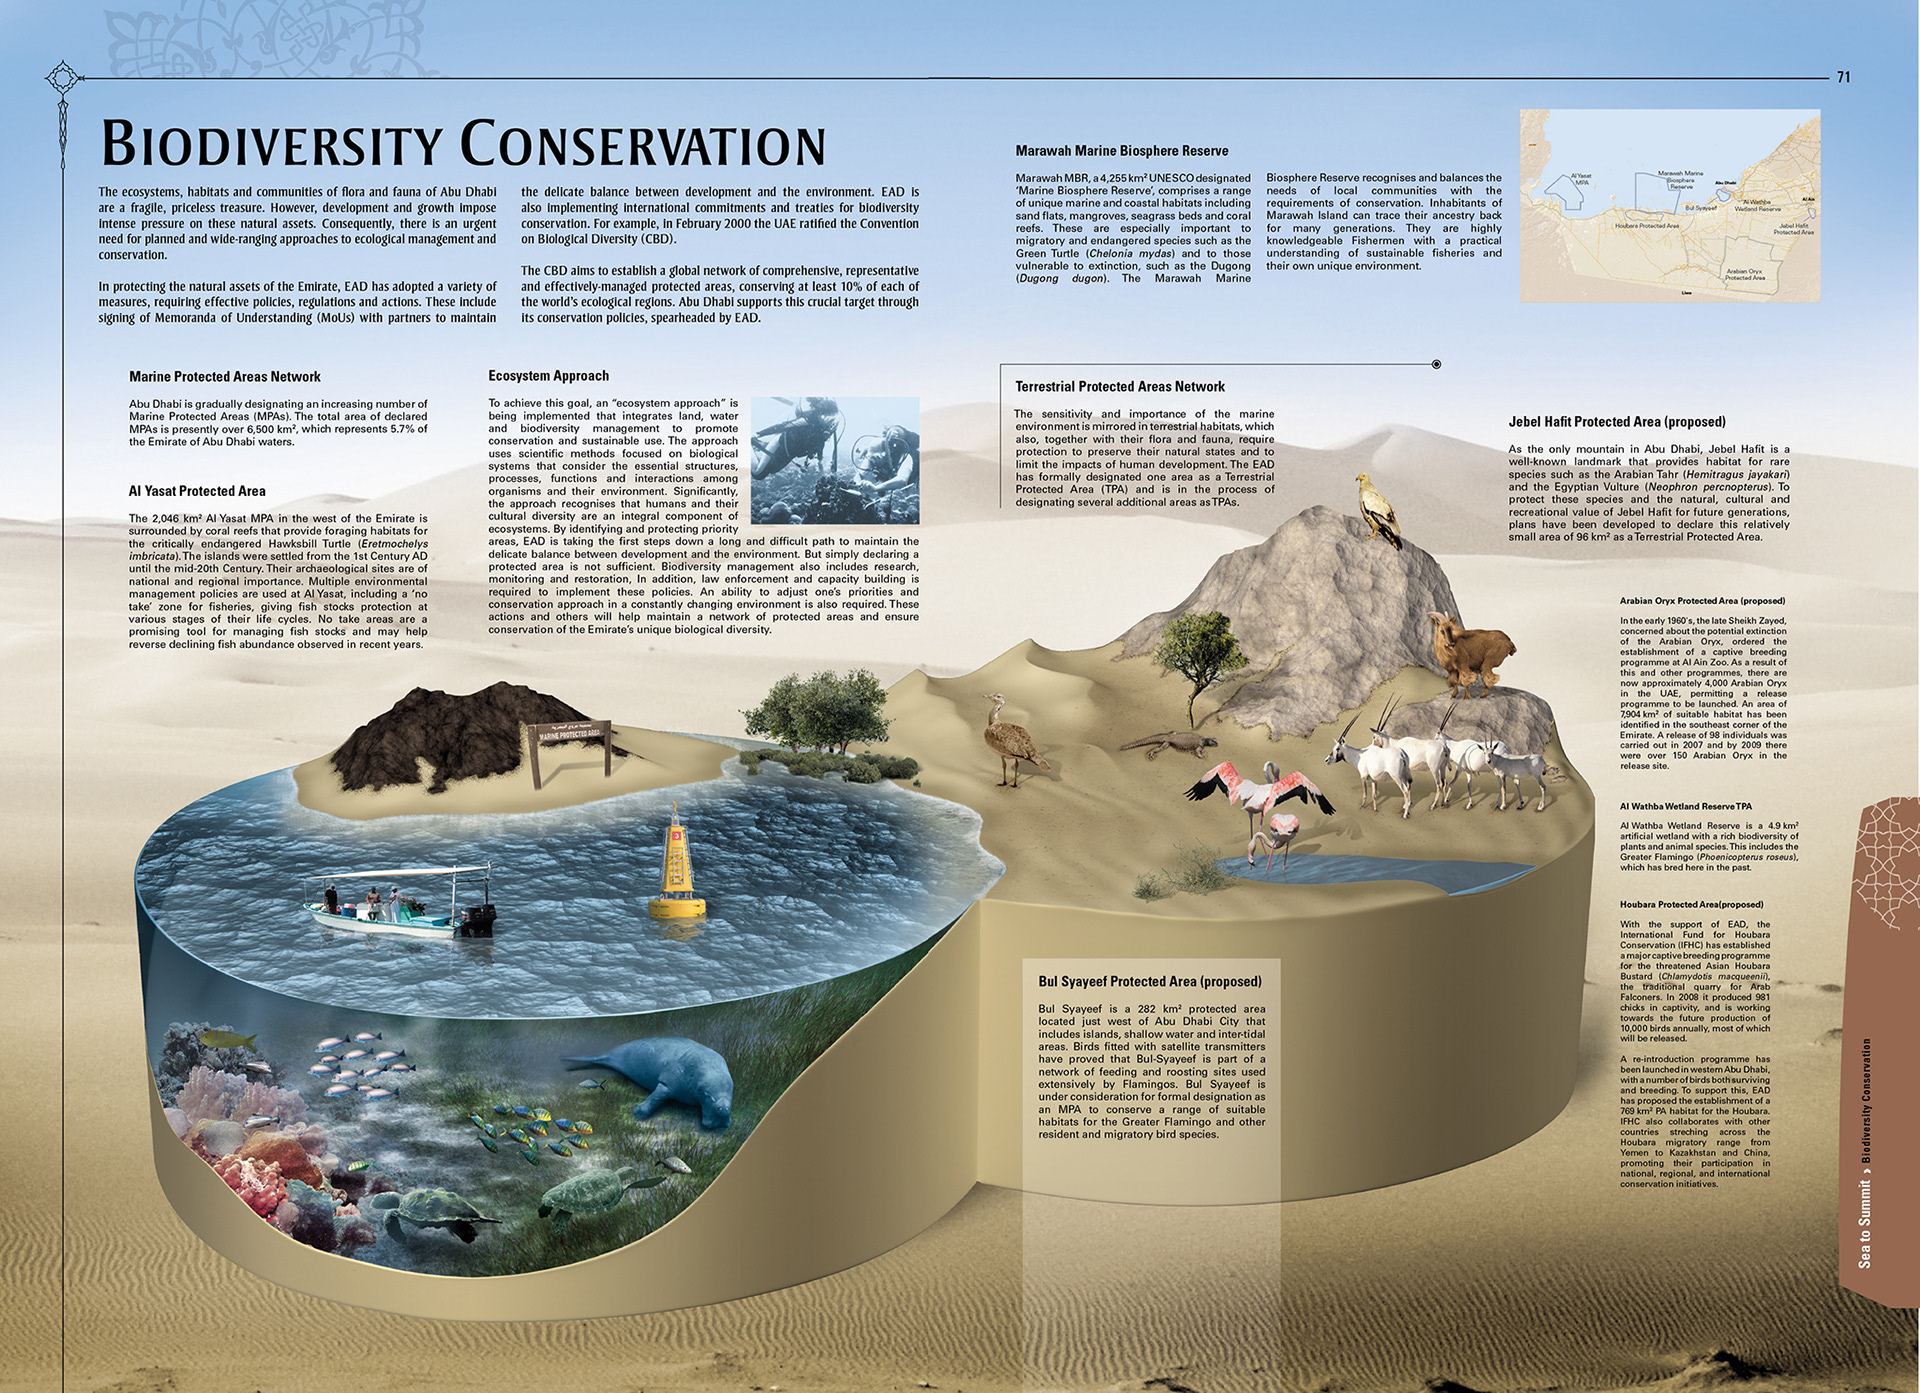
Final artwork in actual size stage starts once I get an approval on the digital mock-up, this stage has many steps on its own. The following page will detail those stages using another cross-section example.
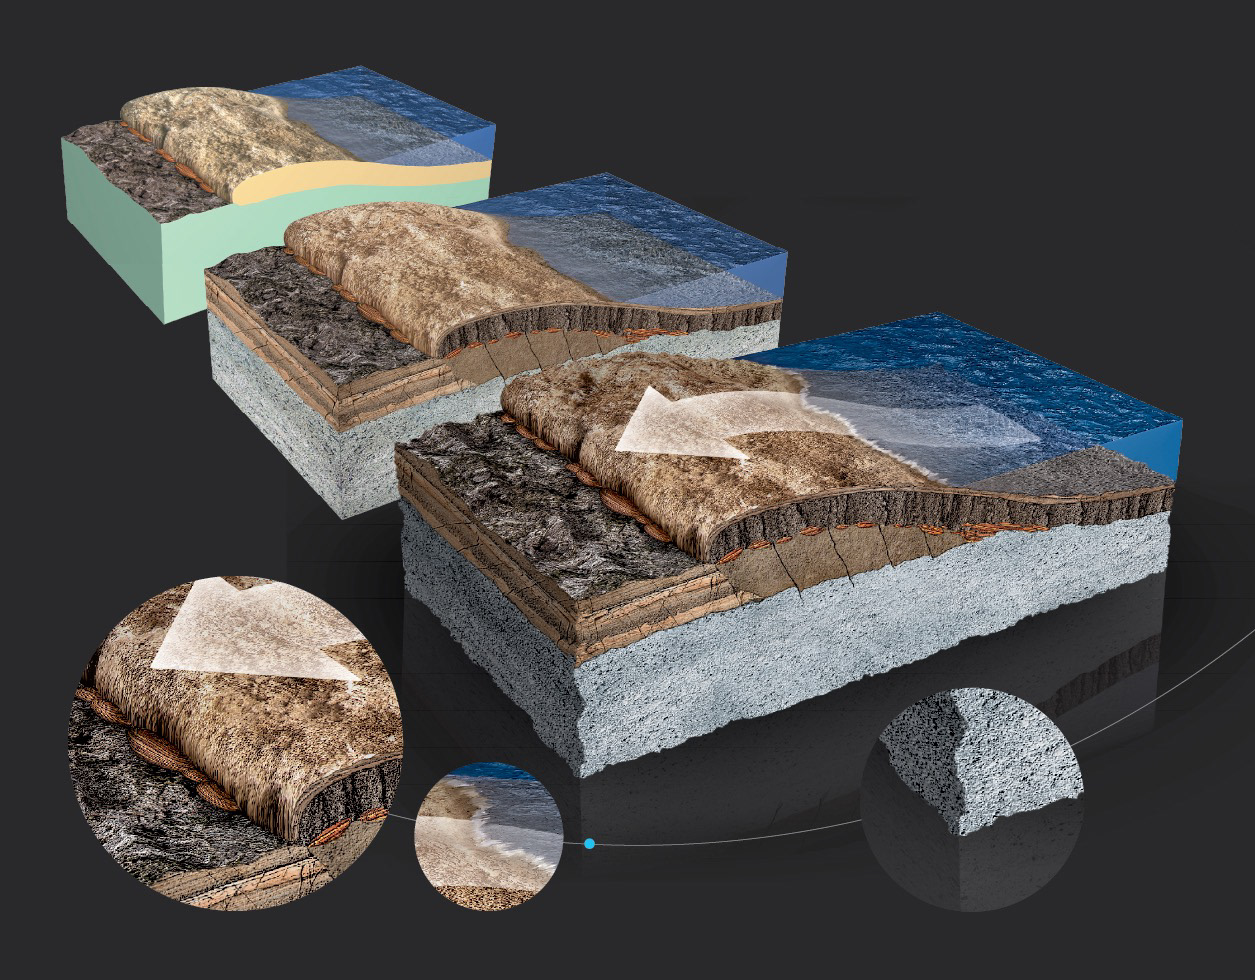
Stage 4 of producing the cross-section goes over many steps, I divided those steps into 3 milestones. The first step starts with modeling and rendering a basic structure, that will make things easier in building a realistic 3D block. This step might have some simple texturing on some surfaces, however, step two will take care of that and properly textures the whole block with the right textures. The final step focuses on detailing and overall enhancements to bring the artwork to life and make it as realistic as possible. Textures are created and crafted to match the actual rock’s true colour, surface, and cross-sections texture in these formations. Finalisation and fine detailing step included adding waves, geological movement arrow, edge jagging, 3D texture enhancement, shading, and reflections.
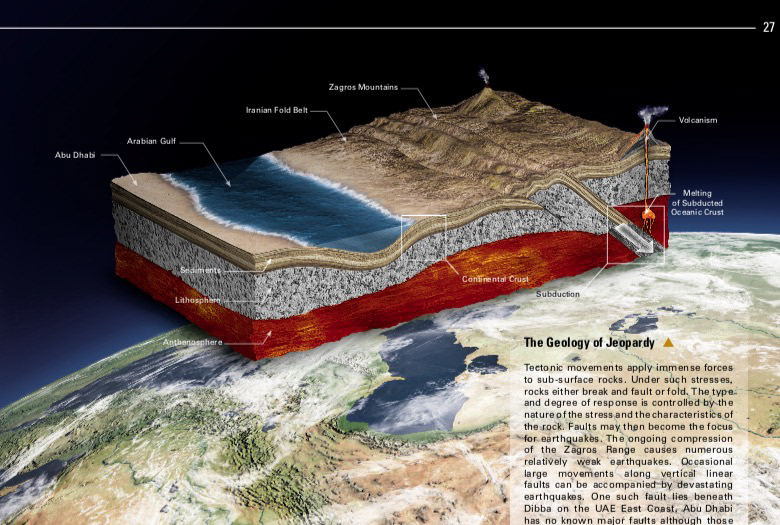
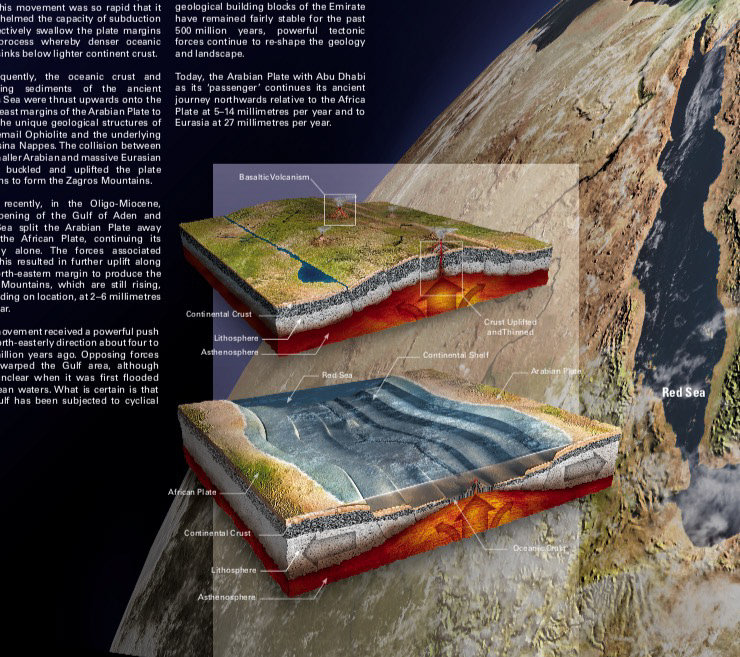
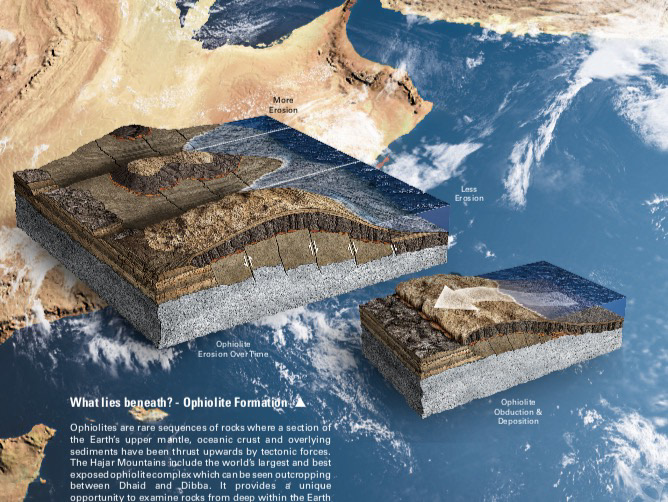
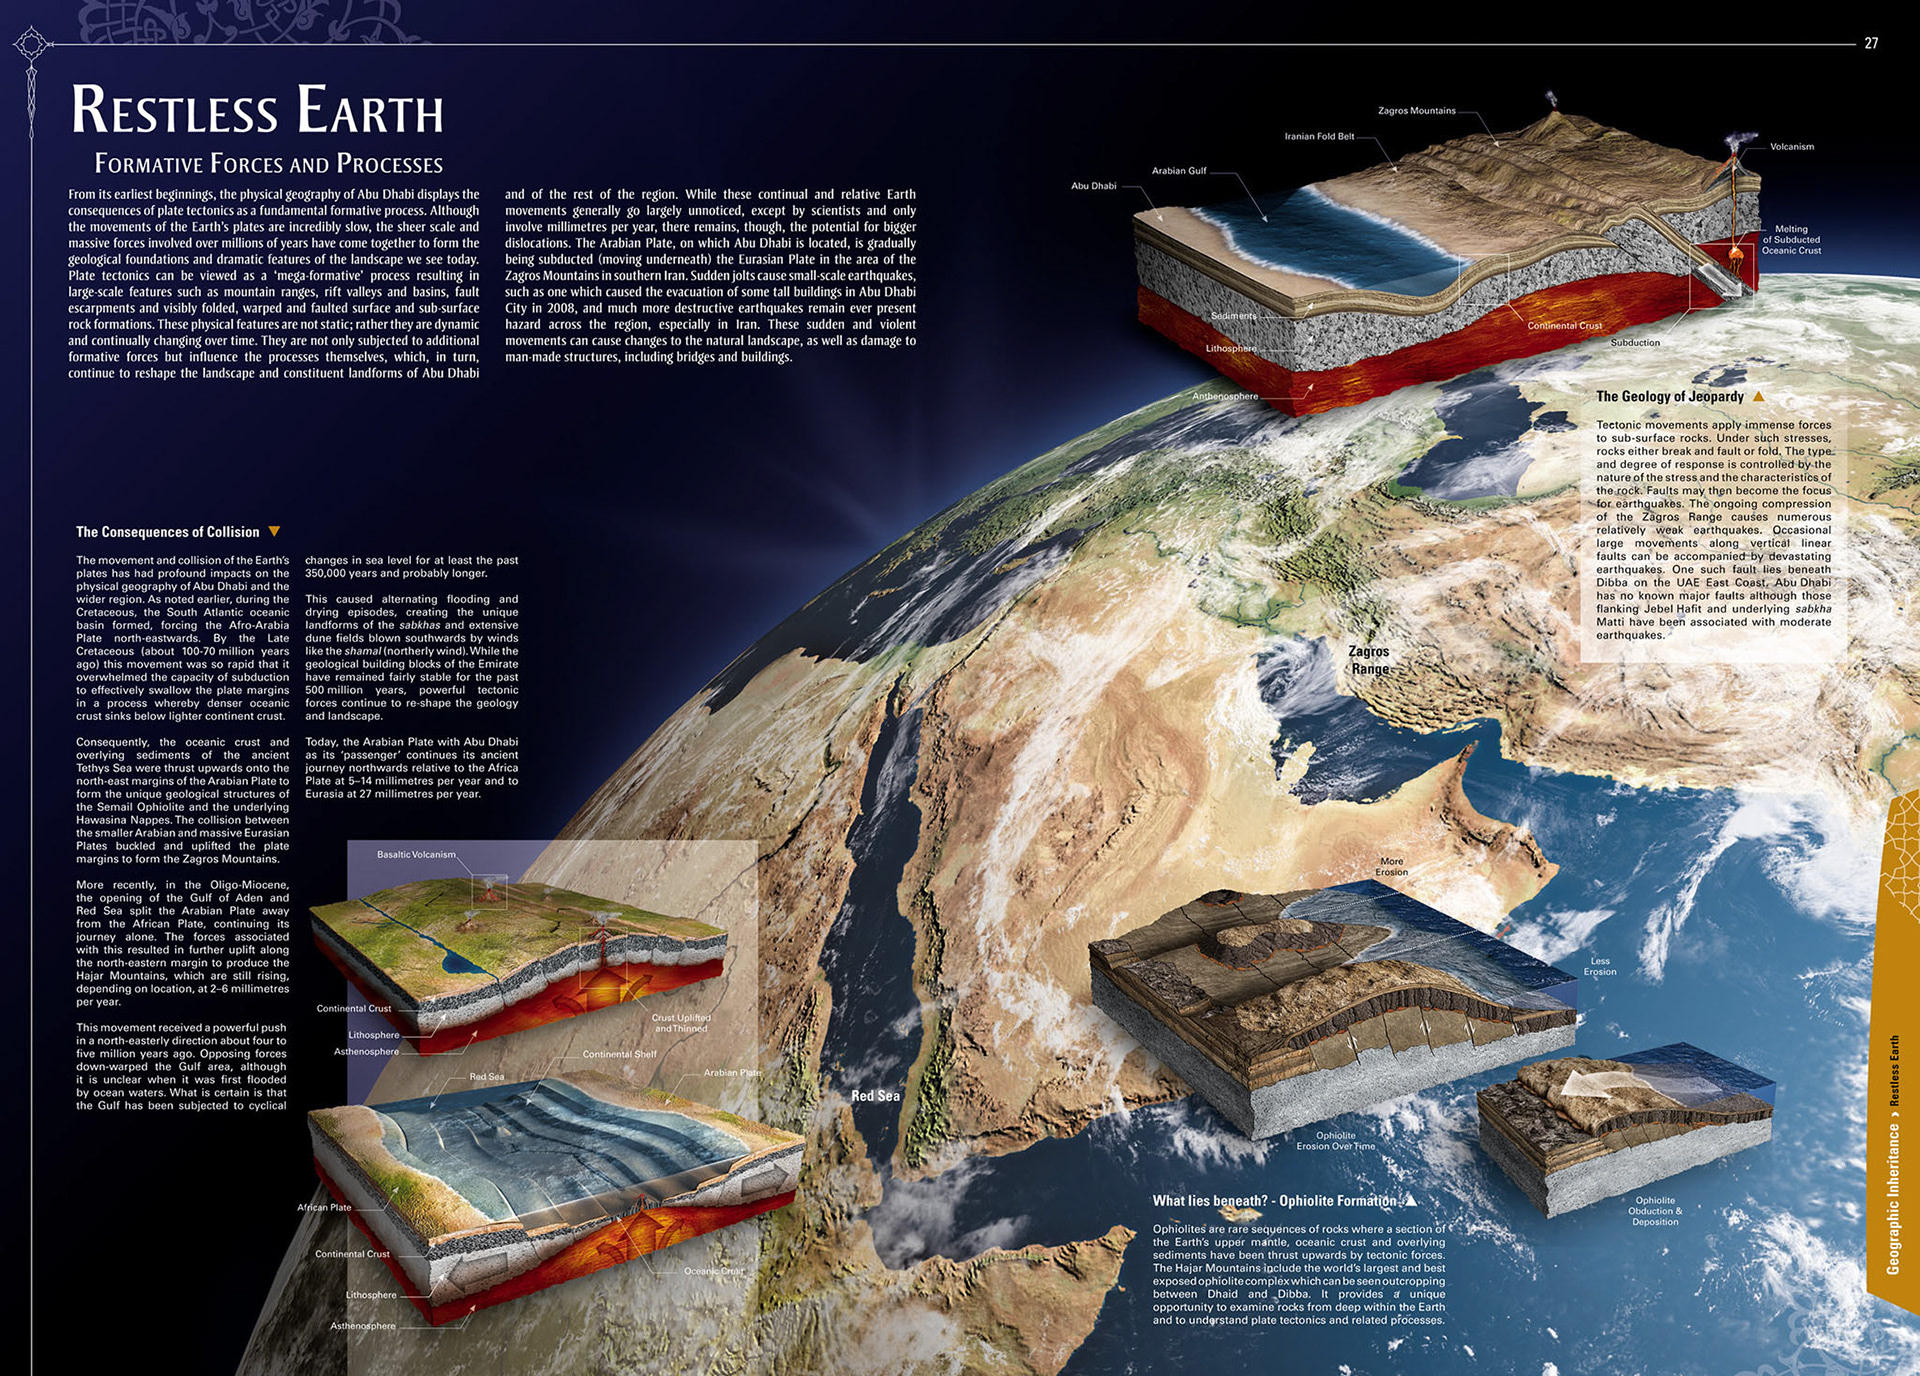
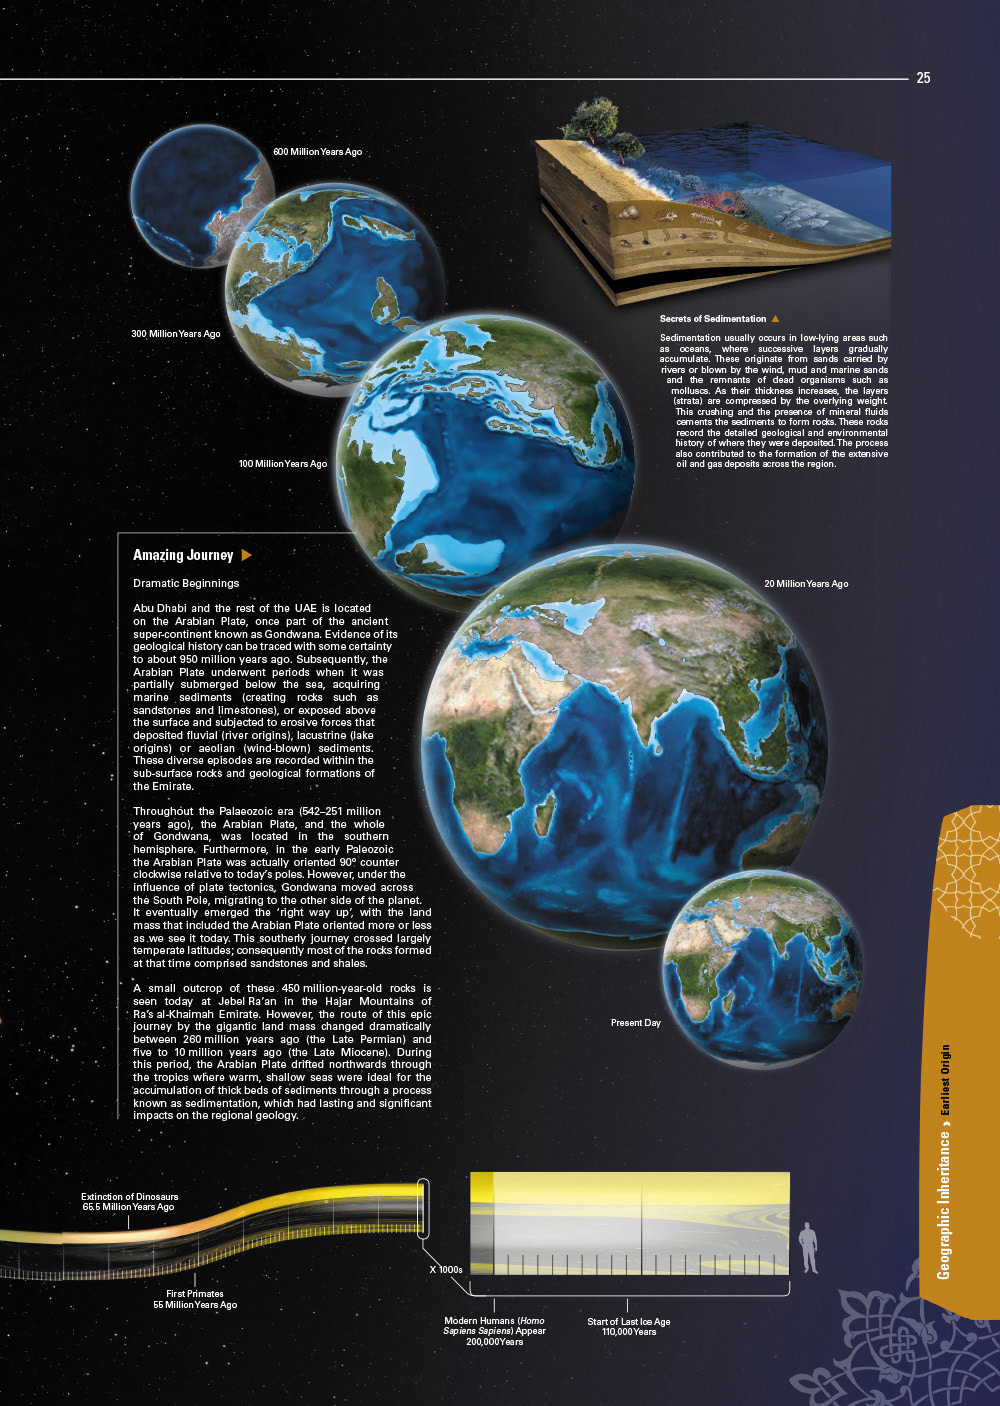

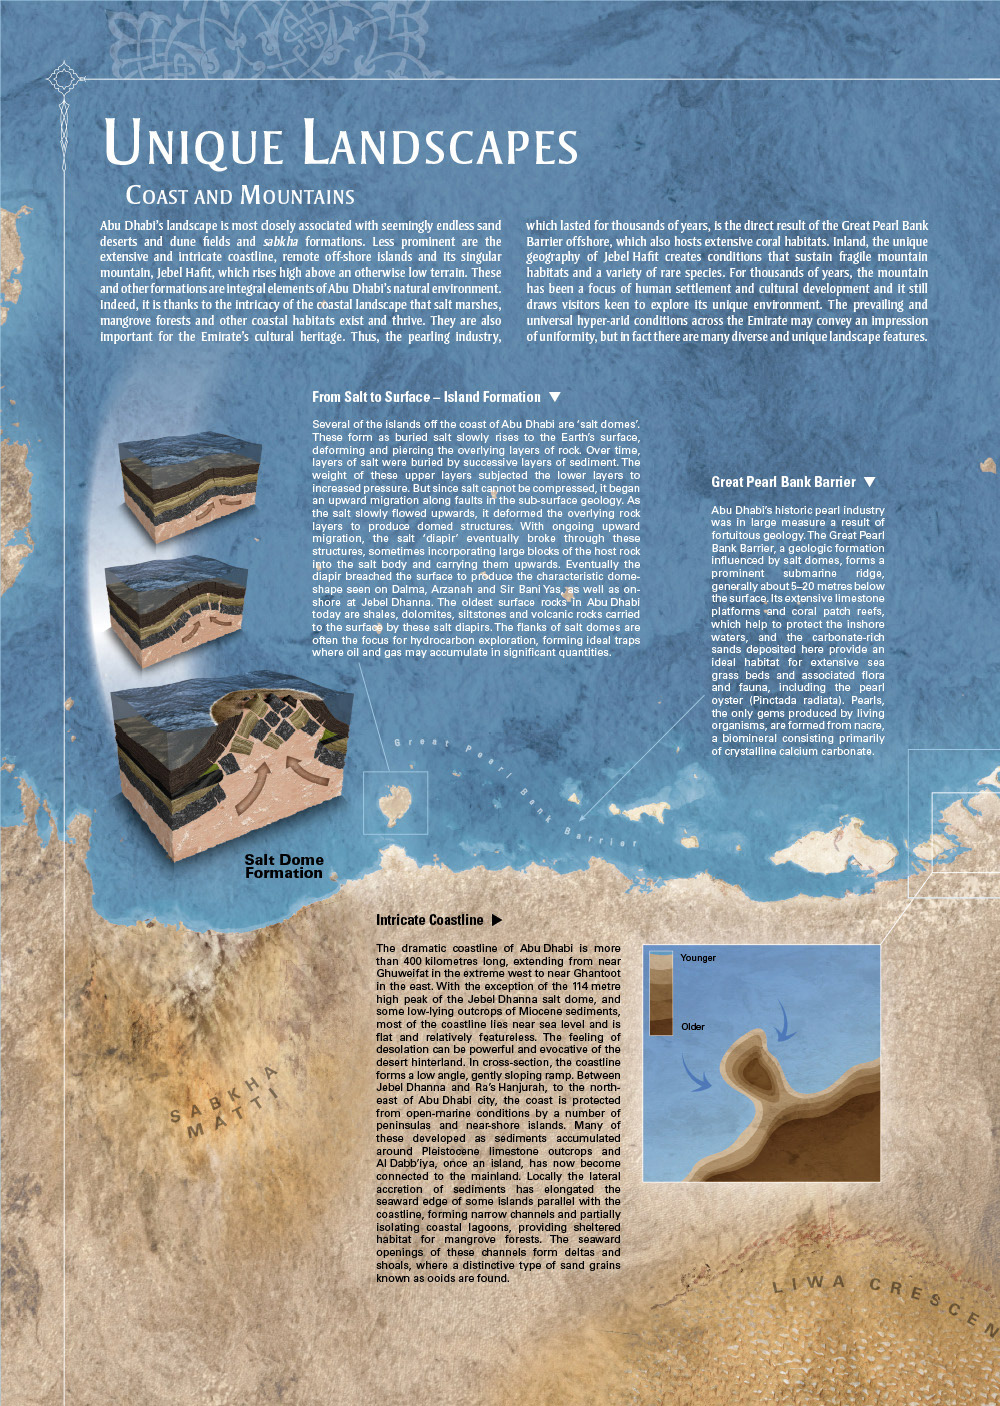

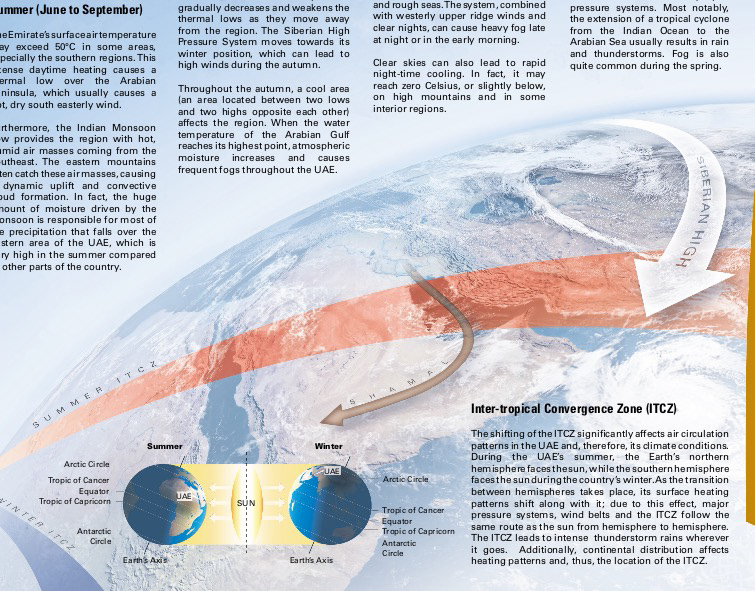
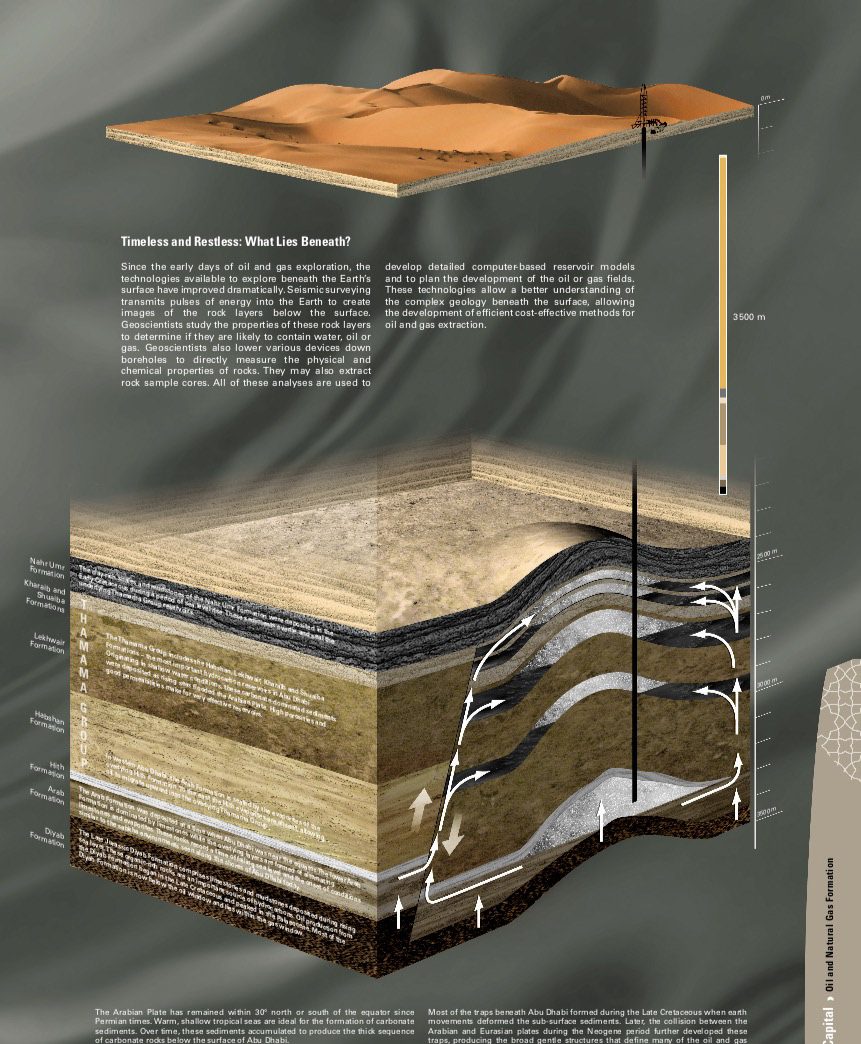
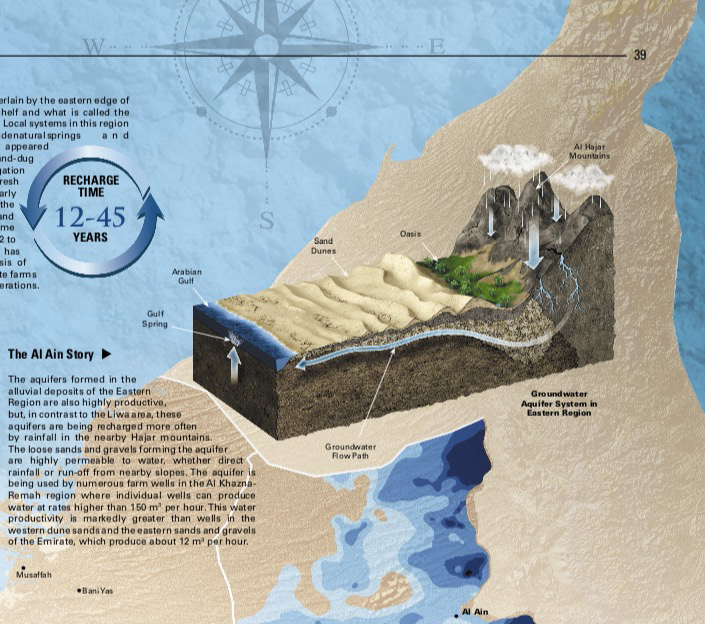

One of my favourite projects, it lasted for over 3 years and was produced in two languages, Arabic & English, during this period I had the privilege of working with a large and unique collection of environmental scientists & experts, project managers, authors, cartographers, photographers, artists and graphic designers from all around the world.
Responsibilities:
My main roles and responsibilities in this project included:
● Building the Indesign styles structure for both languages
● Producing ground cross sections graphically telling a story
● Monitoring and managing the print quality and color correction of all produced graphics
● Technical support for all creative team
● Print and production of the final product
Furthermore:
Ground cross-sections were not the only graphical elements that i worked on in this project. Being a graphics specialist, I have deep technical knowledge in graphic design, therefore, I was able to step in to produce complicated graphics.
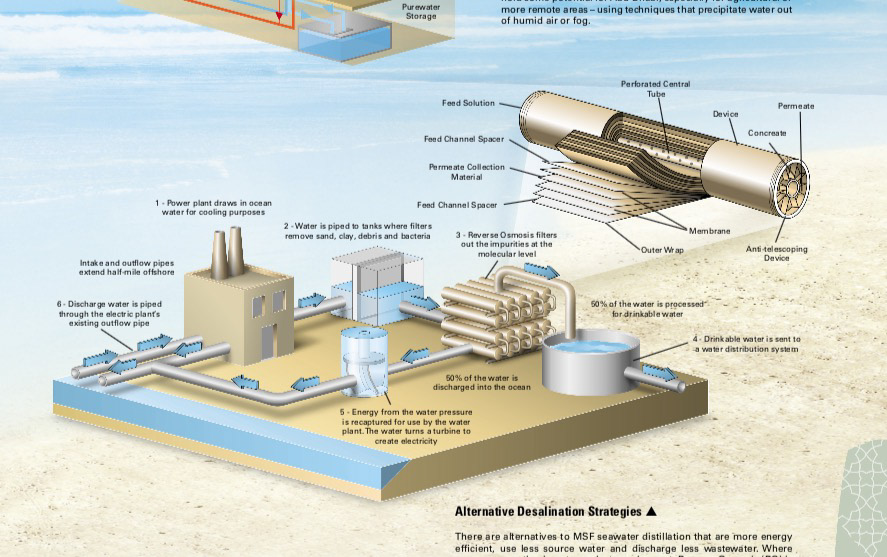
Illustrations

3D visualization

Digital painting
Colour correction:
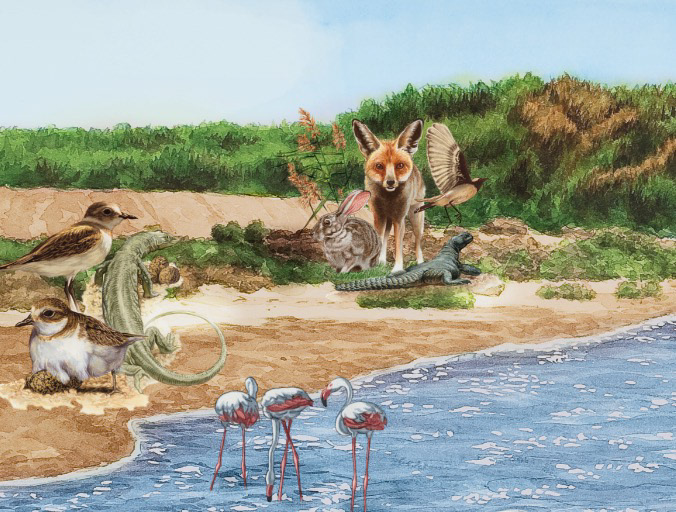
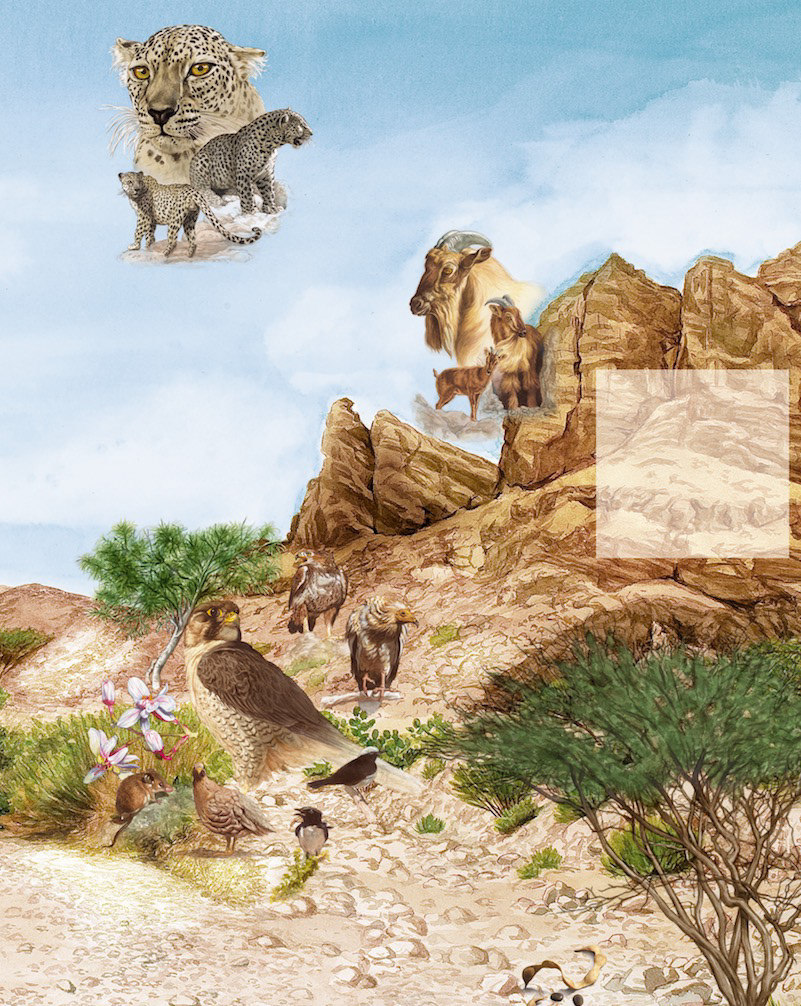
Colour correction was one of my specialties for this project, not for just the graphics I was creating, but for the project overall. That included other generated graphics, cartography, and finally scanned paintings. Each of those painting is painted on canvas separately, then was tasked of colour correcting them and collage them into the spreads.
